Kitchen Renovation: The Backsplash
- Scott Maccarone
- Jul 5, 2020
- 3 min read
Welcome back to our second blog post! Or part two of the Kitchen Saga! Either way I hope you are enjoying the process we went through for our kitchen makeover. So lets dive right in and get to the good parts.
For those of you who did not get to read about the countertop I would check that out first. In summary, we wanted a new back splash to match our beautiful countertop. So with the countertop complete we were able to move on to the back splash. Picking it out was interesting. Below are some of the ideas we were looking at. We decided on the one on the far left. Then, when we went to the store for one of our many trips we saw the one we ended up using (twice the price of the first choice).


We ended up deciding on a backsplash with and white and gray marble looking glass mosaic tile. This was also an item we picked up from Home Depot where we have a contract with (which is awesome, because we make a little bit of money with each transaction). You will also need mastic tile adhesive, and tile grout of your color choice, we went with white grout.

We decided to go with this one because we felt it would tie in the countertop color and the sink we ended up selecting. We chose white grout to make the tile look brighter and cleaner. I know some of you may be thinking "White grout?! What are they nuts! How will they keep that clean?" Stick around, we will blog on our cleaning culture in our home, starting with the kitchen and we will provide all of our tips and tricks! Now, back to the kitchen backsplash.
I’m not a professional so if you know a better way to tile have at it. But this is just how we did it.
First, we had removed the old backsplash which we originally thought we could preserve the old drywall. Nope, I was way wrong. I am no drywall expert at all, so this was a trick. We cut out the old dry wall and made sure the corners were square and the edges smooth. I replaced the drywall with dura rock from Home Depot, screwed it in place, taped it and mudded it. (Remember we did this before the counter top was completed because we wanted all the sanding to be finished ASAP.
Photographed below you will see from left to right the progression. The first one with the huge hole is where we had to cut the old backsplash out. The middle photo is the backsplash behind the sink (it used to be Formica and we just peeled, ok more like pryed, prayed and cut/chipped and hacked at it to come off) and the blurry right picture is of the dura rock over the hole photographed on the left. Clearly Chelsie's phone takes much better pictures! (To be fair we did this project with zero anticipation of making a blog about it.)


We used the mastic to lay the tile, once it was completely dry, you can grout, we waited overnight. (I wish we had pictures from before we put on the grout, but now we know to document everything for you guys)
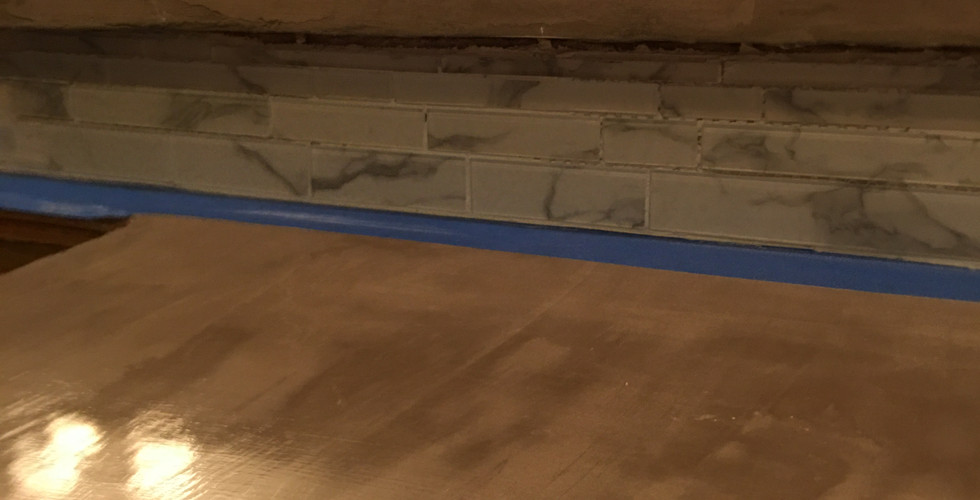
We rented a wet tile saw from Home Depot which made cutting the glass tiles a breeze. Although this was not really hard, **Pro Tip** remember to start on the bottom closest to the countertop to use it as a straight edge all the way around the kitchen, then repeat, layering the rows on top of the first row if one sheet is not tall enough to cover the space. Cutting out tile for electrical sockets can be tricky so remember the socket boxes are 2“ x 3“ this will help when you make your cuts. you will also want to keep the top of the tile and in between the tiles as clean as possible because the mastic will show through on the grout. Photographs below are before the grout was added.


Once the tile is in place and dry you can begin to grout. We chose a white grout because we thought it would give a light and clean look and feel to the small space we had. Like I said before, we used a premixed grout which made life easy in the sense we didn't have to mix it but it was slightly harder to work with because it was drier and a little gritty. You also want to make sure that when you are grouting you have someone to work behind your keeping the surface clean. It is easier to wipe the tile clean from wet grout than to scrape it off after it dries.
Below is the completed backsplash with the grout and all. Leave your comments and let us know what you think!


Comments