Kitchen Renovation: The Paint (and Finishing Touches)
- Scott Maccarone
- Jul 16, 2020
- 4 min read
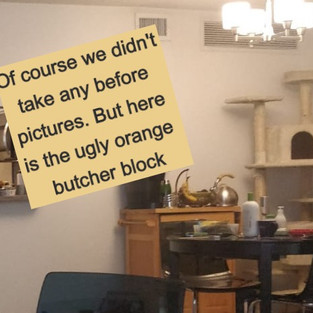
Welcome back to our final post about the renovation itself! If for some strange reason you missed one, two, three and four! Well you can find them here, here, here and HERE!
So we already posted about the countertop, the backsplash, the sink saga and the cabinets. I hope this has helped you in any of your home projects (maybe you decided not to do it at all. LOL) Back to Home Depot to get more supplies!

After the cabinets where done we also re painted the walls and ceiling as well because they where the only thing left that had a cream color to them. With everything in the kitchen a shade of gray we decided to go with a much lighter shade of.... you guessed it....gray. But I mean so light it’s almost white. we chose this because it is a very small space and white reflect light and makes the space larger. It also ties in the white from the living room but has a little more blue to it than the rest of the house. Now I cannot tell the difference between these colors but when Chelsie showed me some side by side I could tell some had a yellow hue, green hue and all sorts of colors. We went a gray/blue hue for the walls and a plain old white for the ceiling, crown molding and to touch up the baseboards. (photographed below is the mess we were living in and a candid picture Chelsie snapped of me rolling the walls with paint)


With most of the kitchen remodeled and the lighter colors our kitchen looks bigger which is good because, like I have said before, we have a small kitchen. I thought our kitchen was complete but our countertop came out so well we decided that we wanted to get them clear of appliances. So Chelsie went on an organization mission and was able to reorganize our closet, butcher block and cabinets to maximize efficiency. It also helped that we got rid of a 8 person dish set. Complete with dinner plates, appetizer plates, bowels, tea/coffee cup with the saucer, two serving dishes, a cream and sugar set and.... I think that is it... yeah, that was all. But it took up way too much cabinet space. I think it is best she share pictures and videos of her organization tips.
Hey there, Chelsie here! Thank you so much for taking the time to read, learn and be inspired! Please feel free to reach out and inquire about any of the tips you read about here on our blog!
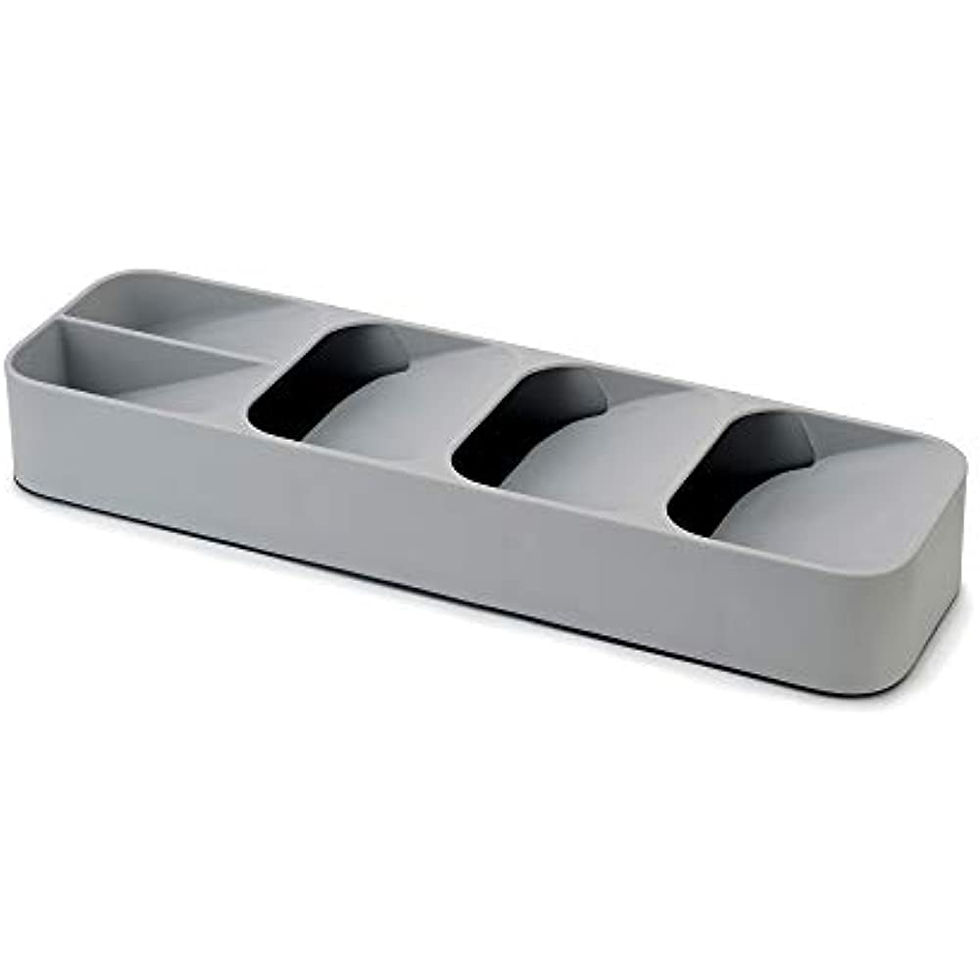
In the short video here you will have seen some photographs of organization. My absolute favorite was our tiny drawer solution. (I put a picture of it here for you to see without all the cutlery inside it) But this was really a game changer for our shortage of drawer space.
You will also see a utilization of the shelf lifts for the dishes and other items. I added photos below for you. This helped to maximize the use of vertical space.


I was also very excited to get the bread that is stored on top of the refrigerator in a basket to keep a more tidy look. An organized kitchen promotes efficiency and efficiency provides more time for you to do the things you love to do. I am all about making things easier to have more time! (Failure to prepare, is preparing to fail) I believe a little preparation goes a long way!
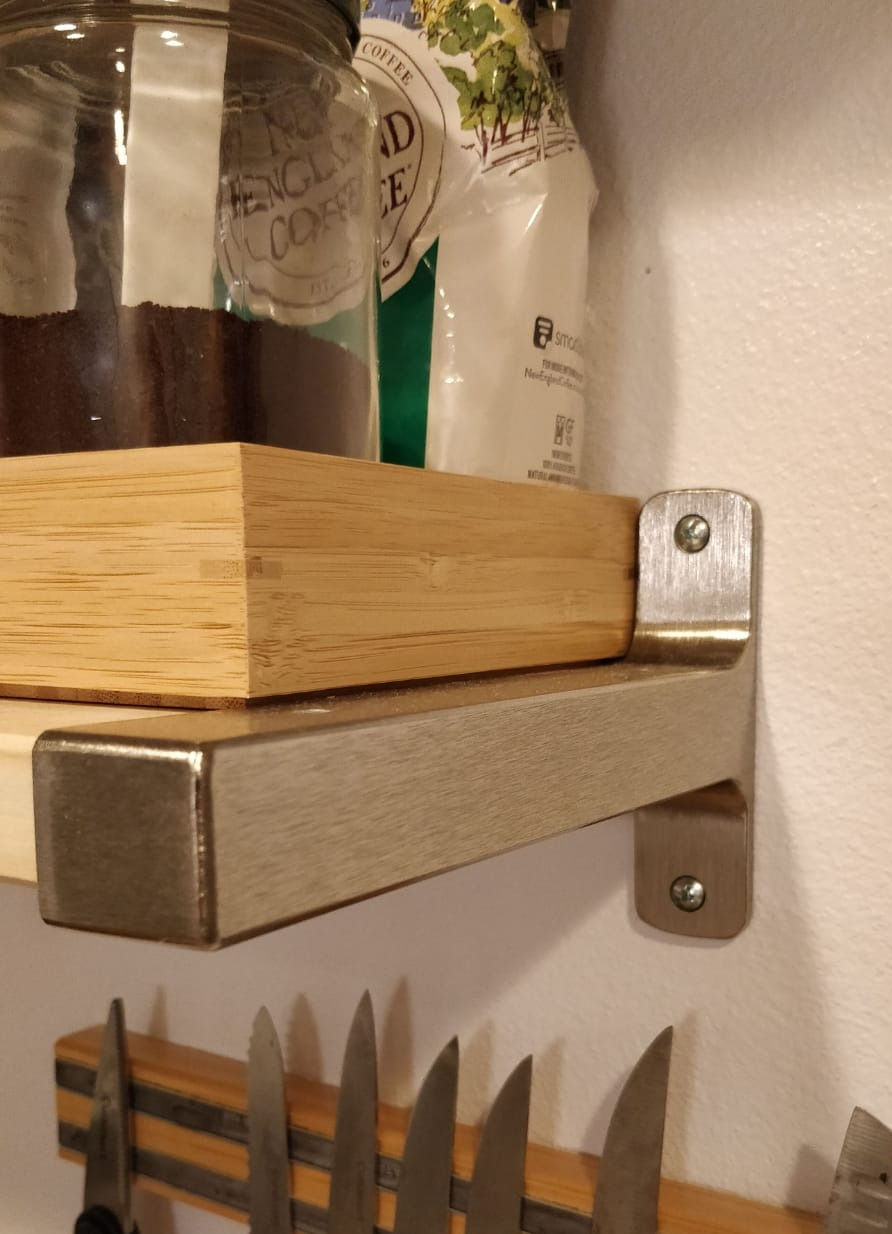
With the counter tops clear we were able to make our moves to the coffee bar. We had this butcher block on wheels and we painted it white to match (Don't worry we left the top part natural butcher block). We took everything off of it except the Keurig. We also removed the fruit bowl and other random items that would end up there. We got a hanging 3 tier basket for fruit and we also did an IKEA hack! We went and got some shelving that we were really excited about however we forgotten to measure and low and behold... it was too long. So here is what we did. We got these cool brackets that go on the end caps on the shelf and we cut the shelf in half. Because of these brackets, it didn't matter if my cut was straight. It didn't matter if I had sanded it or not (because I was NOT going to do more sanding!!!)


You will see here the French Press we use for making coffee complete with a tea kettle that has a wooden handle that matches the shelving. The shelves are the IKEA hack we were talking about. Notice the brackets and how they wrap the corner. This is a GREAT option for if you have to cut down the size of your shelves. It also creates a great modern look.
One of the biggest tips to a tidy and clean kitchen is organization. We weren't about to put all this time and energy into a newly refaced kitchen to keep it a mess all the time. Keeping things efficient is also very important. The second biggest tip to a tidy and clean kitchen is the lighting. We had two areas where lighting had been but never worked because the bulbs were never replaced. But it was old hardware and bulky. I went out to home depot and got LEDs that were motion censored and could dim. This created a brighter and bigger feel from inside the kitchen. Those who know me know that I am all about the lighting. This became entertaining for a short while because every once in a while the cats would get on the counter and they would dim or turn off the light with the motion censor.
Here is the final walk through of the kitchen!


Comments